On this page
The 21st century life is fast and unique in many ways, as we see multiple inventions popping up every day, making our lives easier and more fun than ever. Believe it or not, emails are in the same box as everything else around us. People get more and more bored by simple, black-and-white email content and would rather skip them, than read that "torture" 🤐
Luckily, we found ways to make email outreach fun for both the sender and receiver with our Image Editor , which exists to awaken your creativity (Picasso, you there?!) 🎨
Let's go over the steps on how to best use this feature!
1. Image Library
Navigate to the "Image Editor" field in the main menu and click on Image Library . Here, you can create different folders where you can store your images, as well as labels which divide your images into categories ⬇️
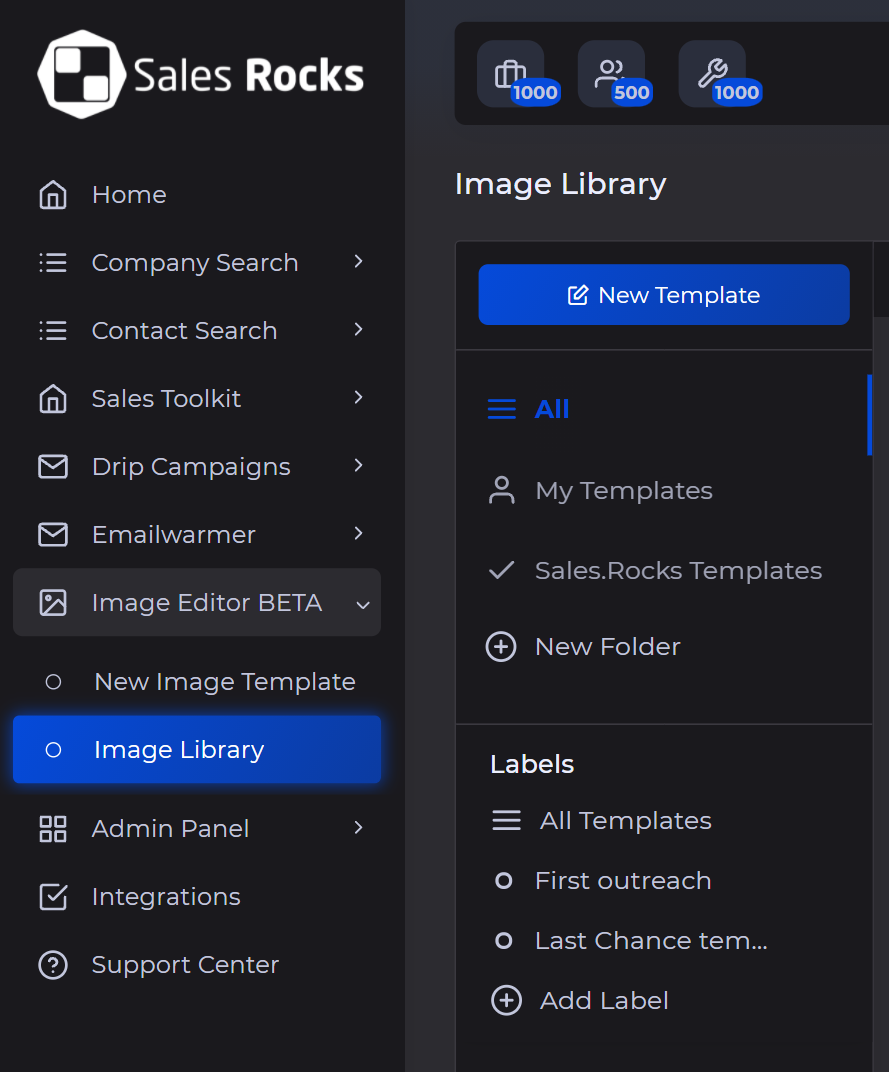
Note: This field is not mandatory in order to use the Image Editor, but it can be helpful for you, if you wish to separate the types of images you'll use for different types of prospects.
2. Create a new Image
Navigate to the "Image Editor" field in the main menu and click on New Image Template to start building your personalized images.
.png)
Choose one of two options:
-
Personalize your emails by selecting an empty drawing board, without an image being included and start using your drawing skills, OR
.png)
- Personalize your emails by uploading an Image, GIF or Web URL as a background and edit it according to your preferences
.png)
Next, select your variables (now or later) that you'd like to be included in your personalized emails.
For example: We'd like to include the name of the company and the name of the person we are contacting in our personalized images ⬇️
.png)
How this works: Select a variable available from Sales.Rocks (in this example: company_name and first_name) and in the field named "Placeholder", enter an example for these variables (an example for company_name is Sales.Rocks and an example for first_name is Peter). Once done, click on Next!
Enter the name of your Image Template and a short description on what you'll use it for, then select the folder in which you'll save it, as well as the label (not mandatory!).
.png)
3. Personalize your Image
Once you set up all the variables and other preferences, this is your creativity canvas ⬇️
.png)
You can customize the image any way you wish, by adding other images on top of it, shapes and text.
If you wish to use the variables for personalizing your image, click on the "Text" icon to edit your content.
To use the variables wherever you wish in the text, do the following steps:
- Click on the field where it says "Copy a variable"
- Click on the variable which you need to be copied
- Click in the text box where you'd like to add that variable and paste it (Ctrl+V or paste option from right click on mouse)
.png)
.png)
4. Add companies' logo to the image
You can also add the logo of each company you have in your prospect list, by doing the following steps:
- Have website as a variable included (we already included it in the beginning of this guide)
- Have an example for a website (we included sales.rocks)
- Use the Clearbit Logo Tool , where they have all company logos available
- Type in any company name, scroll down and copy their logo URL as an example (please copy just the blue link, without <img src="). We'll take Spotify as an example 😄
.png)
- Click on the "Image" icon in the image builder and enter the URL in the field below:
.png)
- Delete the name of the company at the end of the link and add the variable you set up initially for logos. Our variable is website:
.png)
- Click on the side of the screen and the logo of the company you took as an example for website url will pop up. We took as an example sales.rocks in the beginning. Place the logo wherever you wish:
.png)
5. Use the image in your emails
Once done with editing your image, click on the last tab on the right " Save and Generate ".
❗Save the template first❗
Note: If you wish to use this personalized image on other places or you'd like to check what it'd look like, click on the button "Generate Personalized URL" and click on the generated link ⬇️
Next, open your campaign and click on "Edit Email" ⬇️
.png)
Set up your email subject and content according to your preferences and edit the image personalization, by first clicking on the drop down arrow at the end of your screen, then on "Image Templates":
.png)
Select your image and VOILA, your email is ready to go 😎
6. Credit usage for the Image Editor
For every opened email that contains your personalized image, 1 Credit will be deducted. That means, if you've sent your email to 50 people, but 30 of them opened it, 30 Credits will be deducted.
Note: If your credits are spent in the meantime, the next customer that will open your email ❗WON'T be able to see the personalized image❗
We hope this guide is useful and makes using this module much easier 🧡
If there is anything left unclear, always feel free to reach out to help@sales.rocks